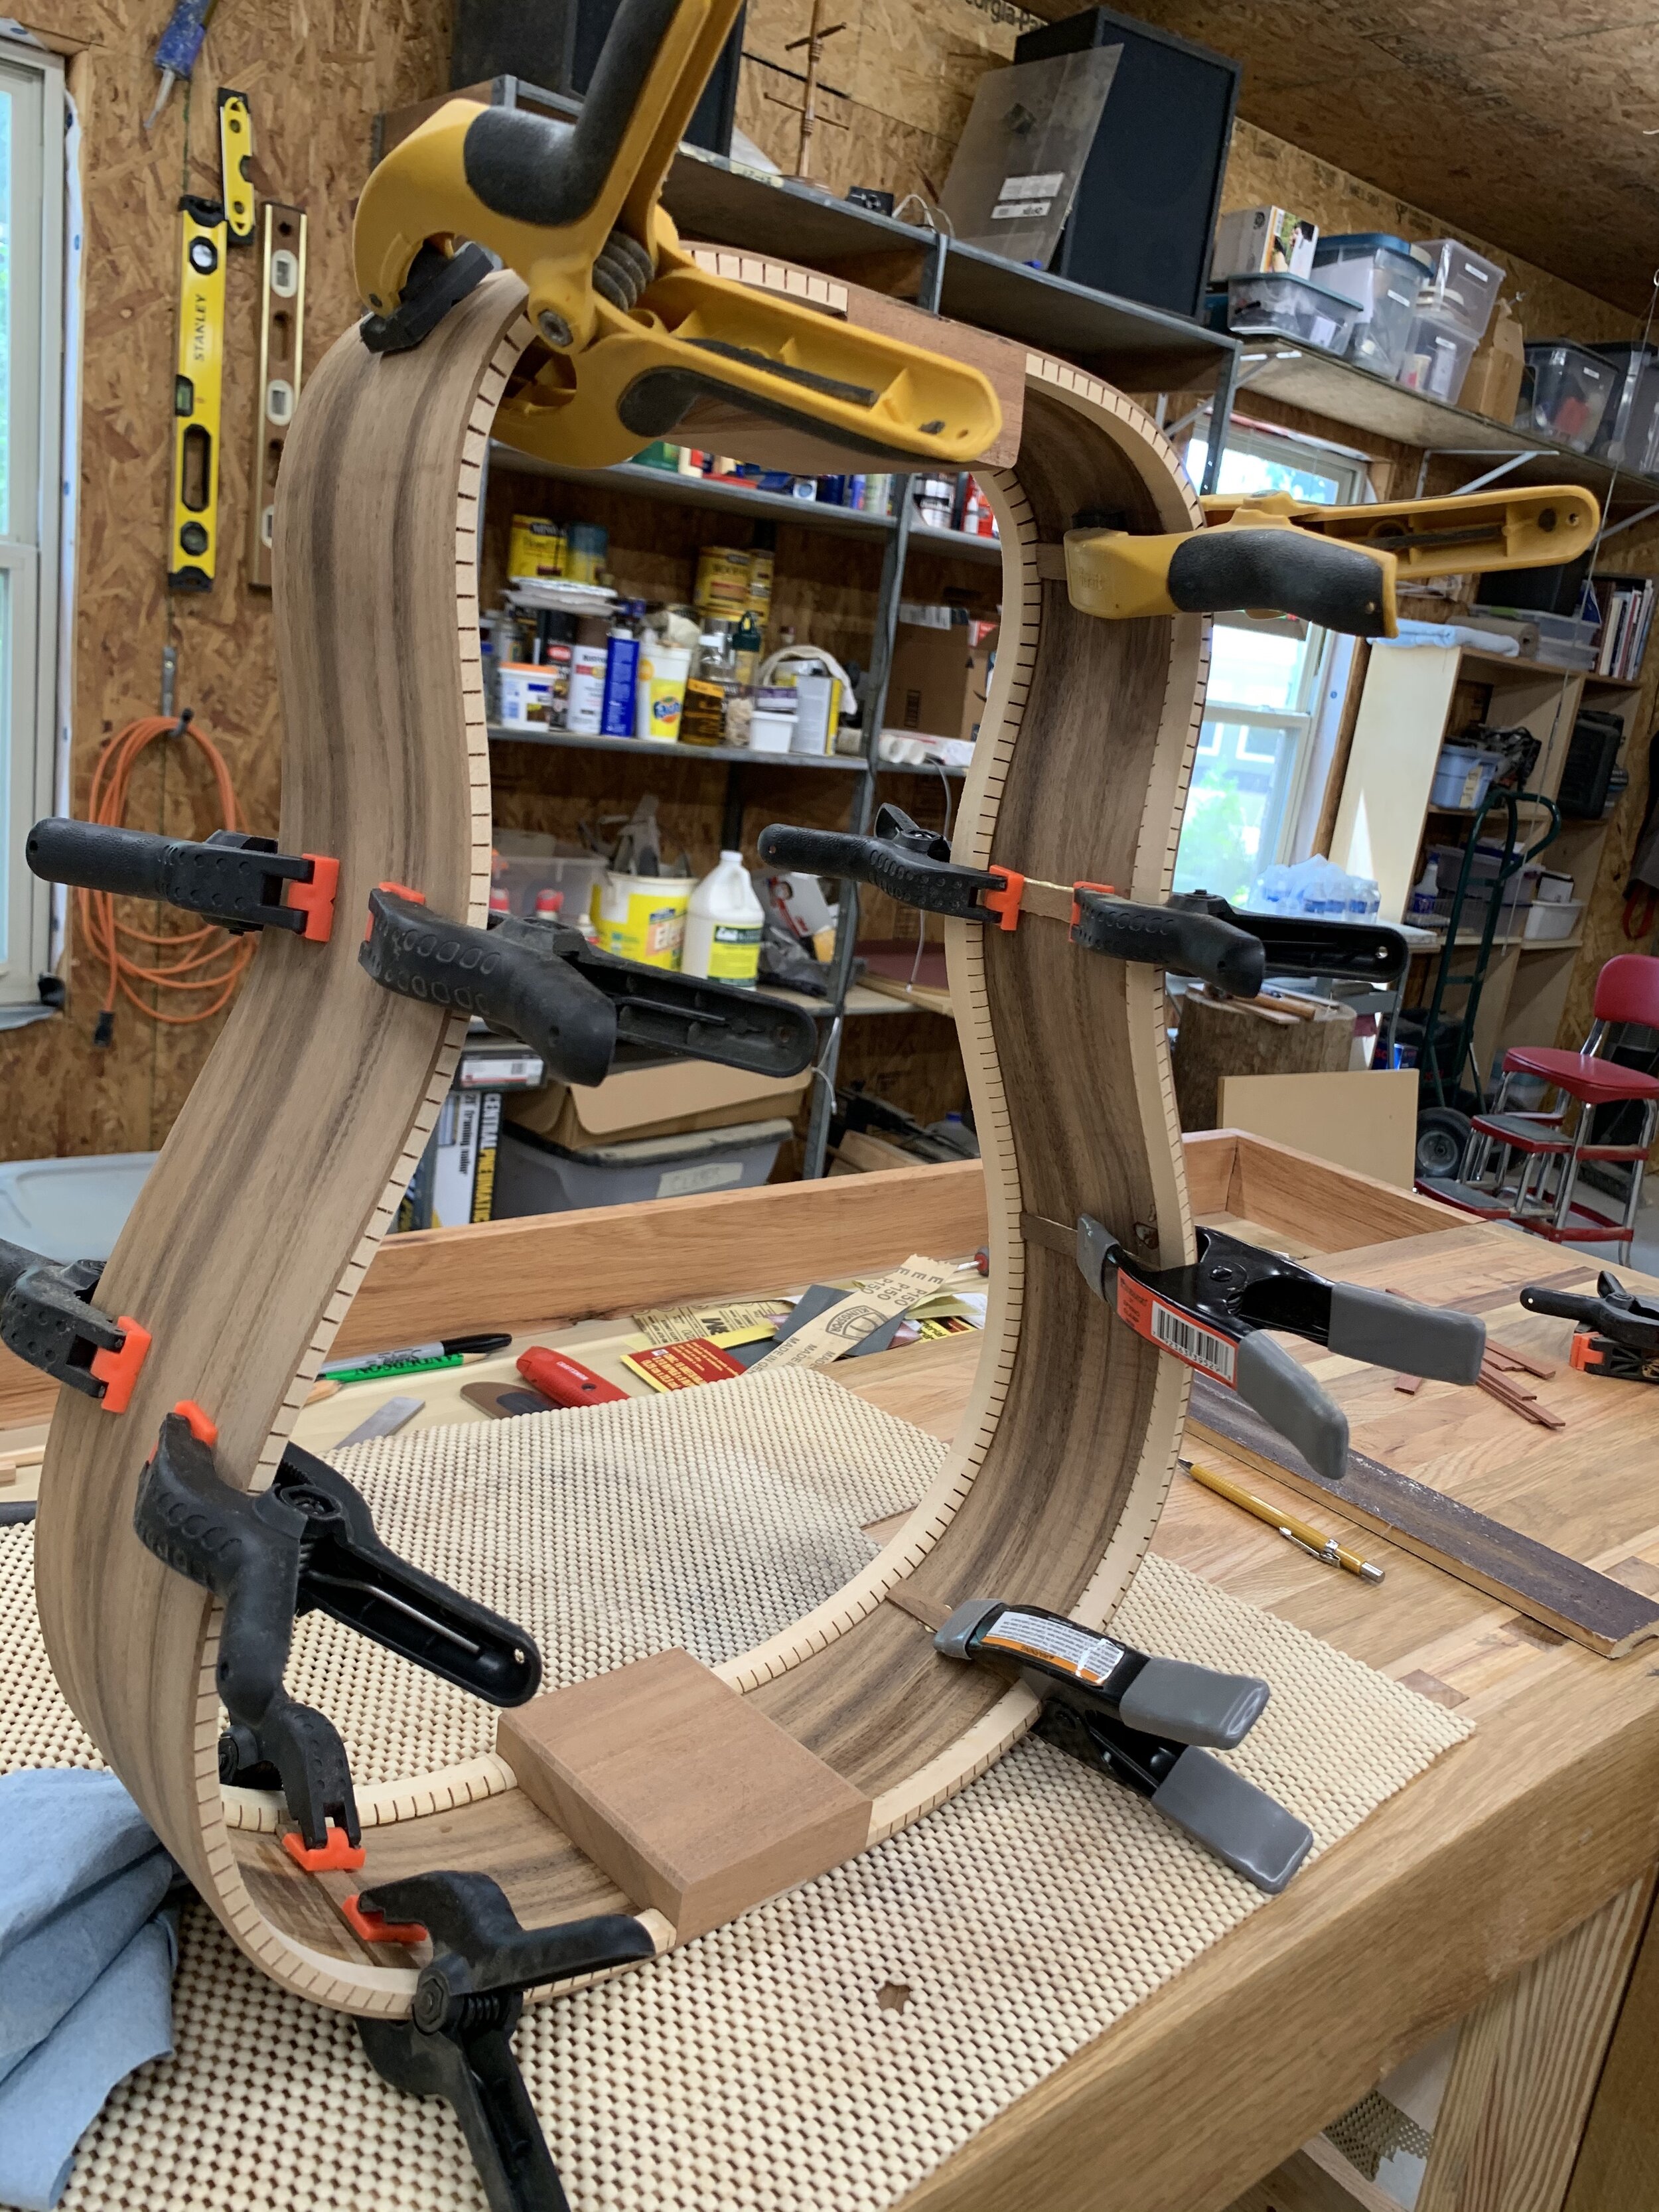
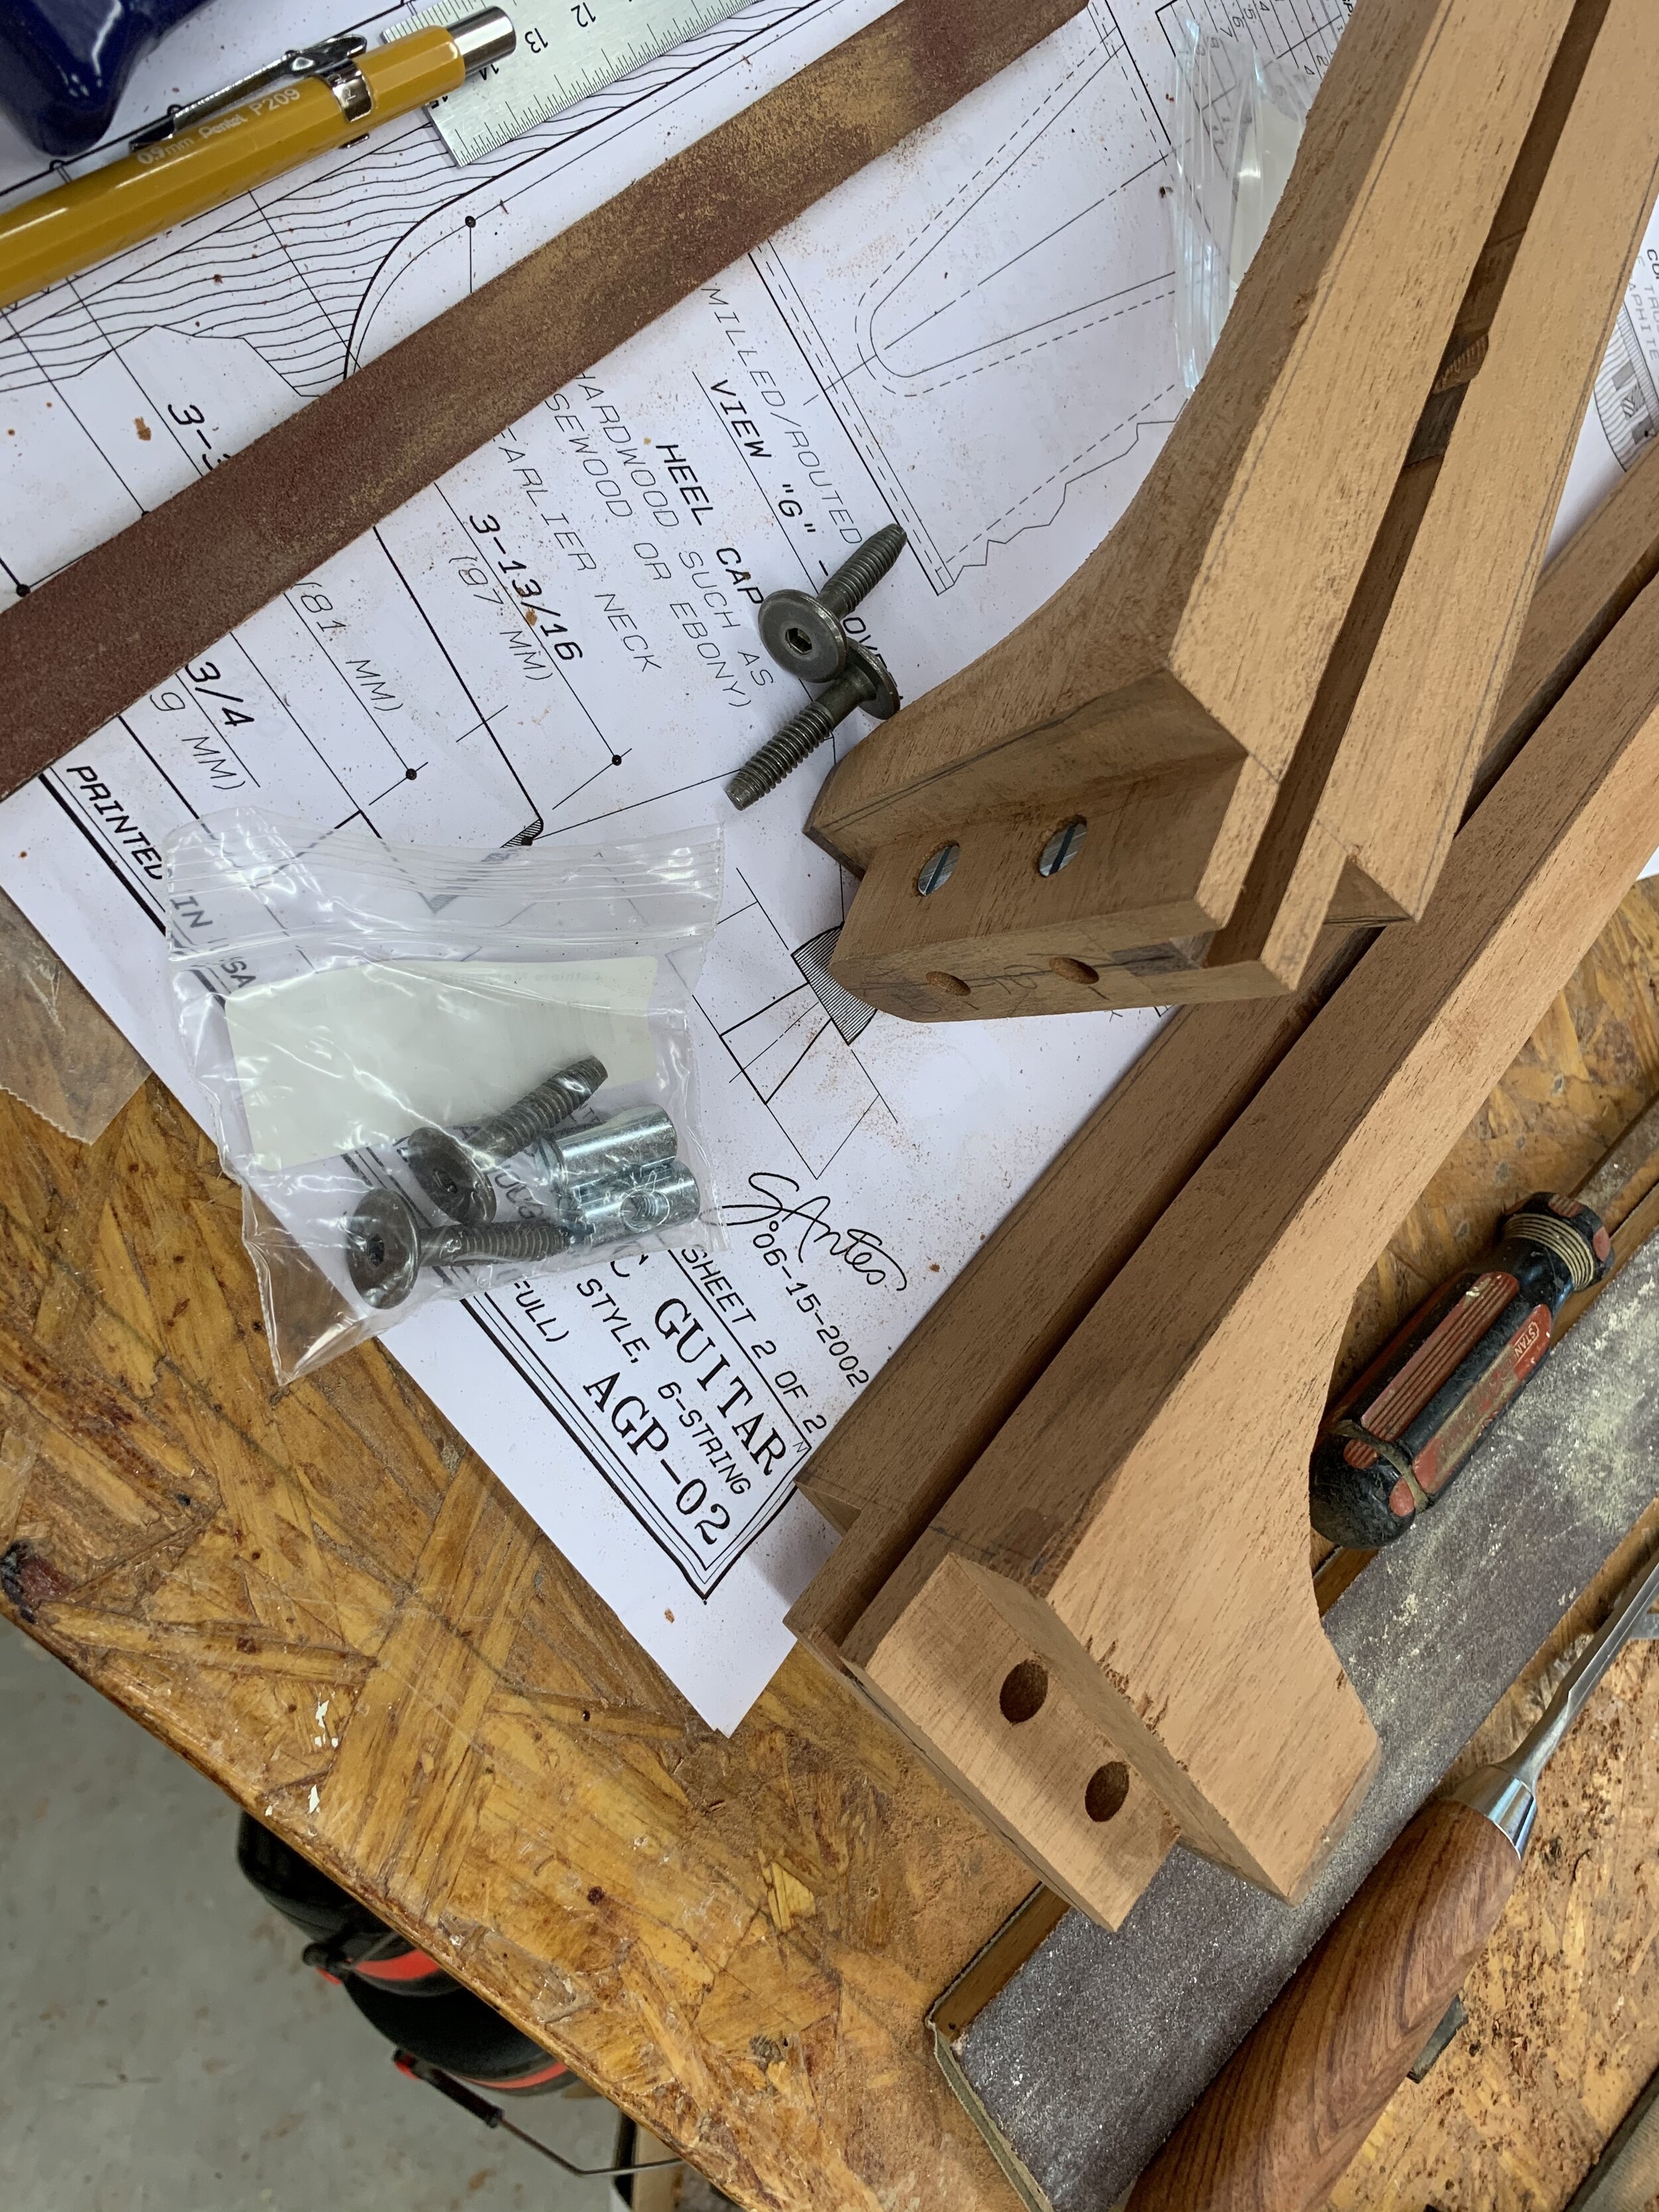
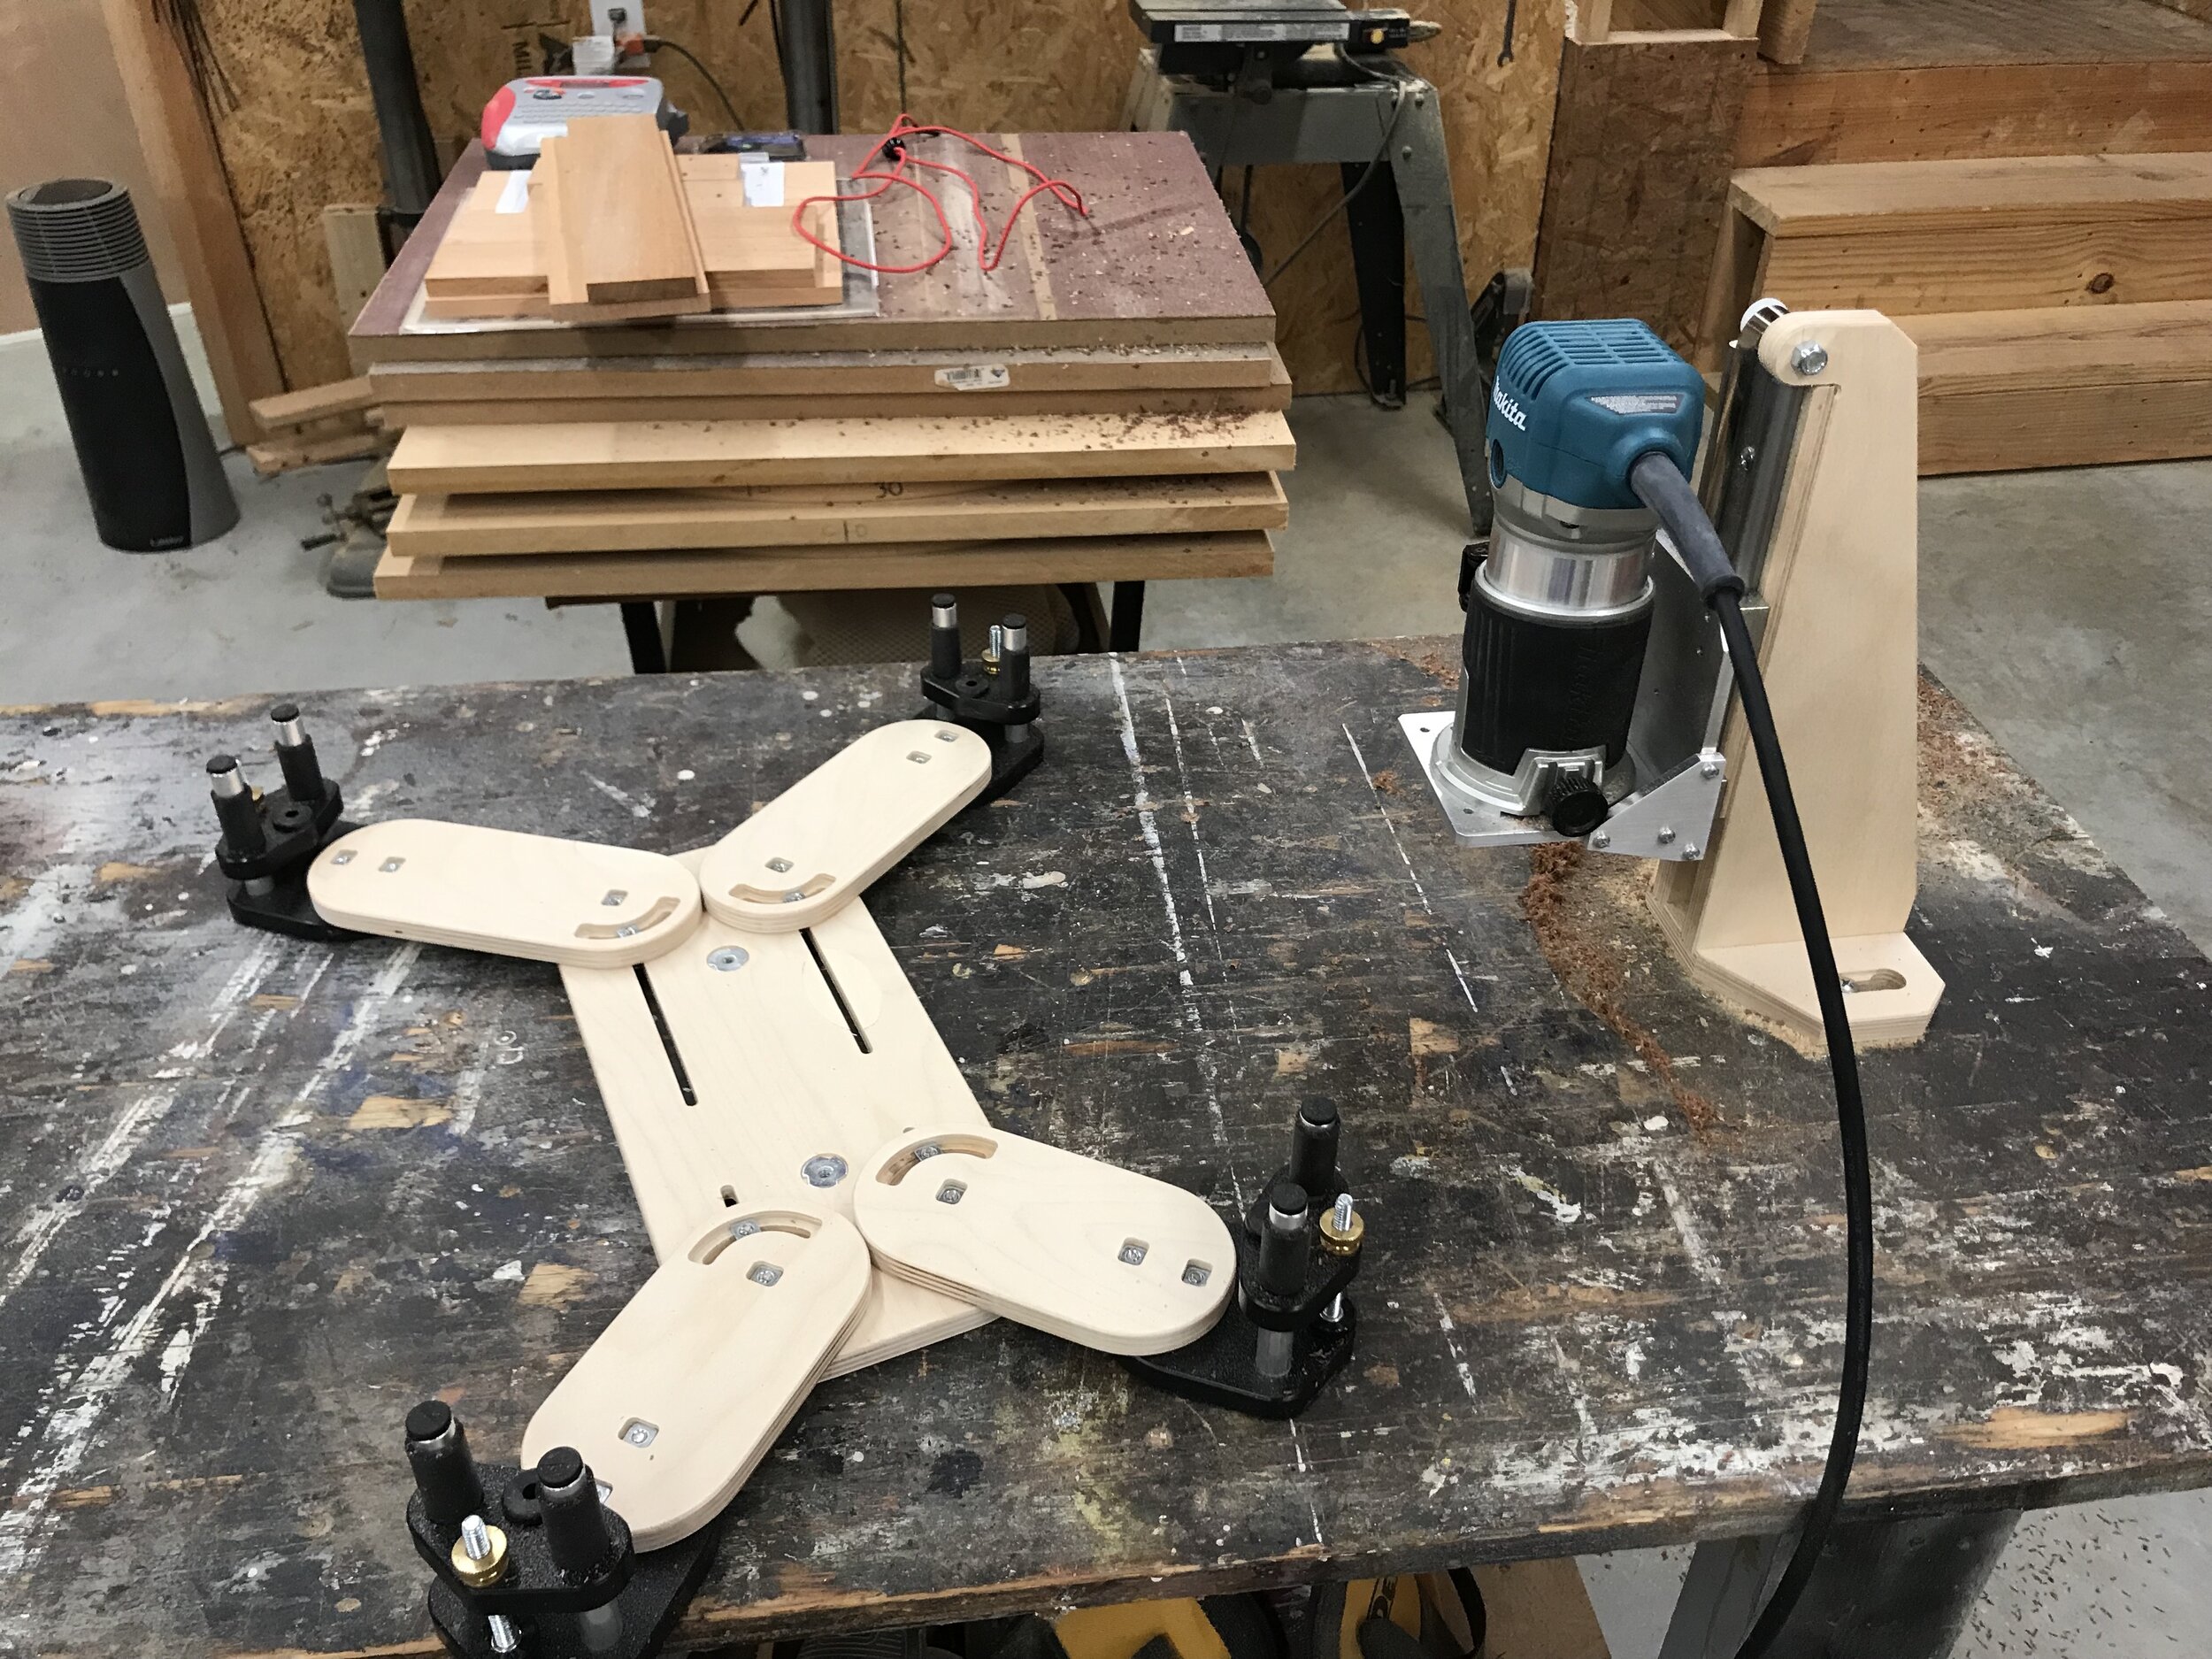
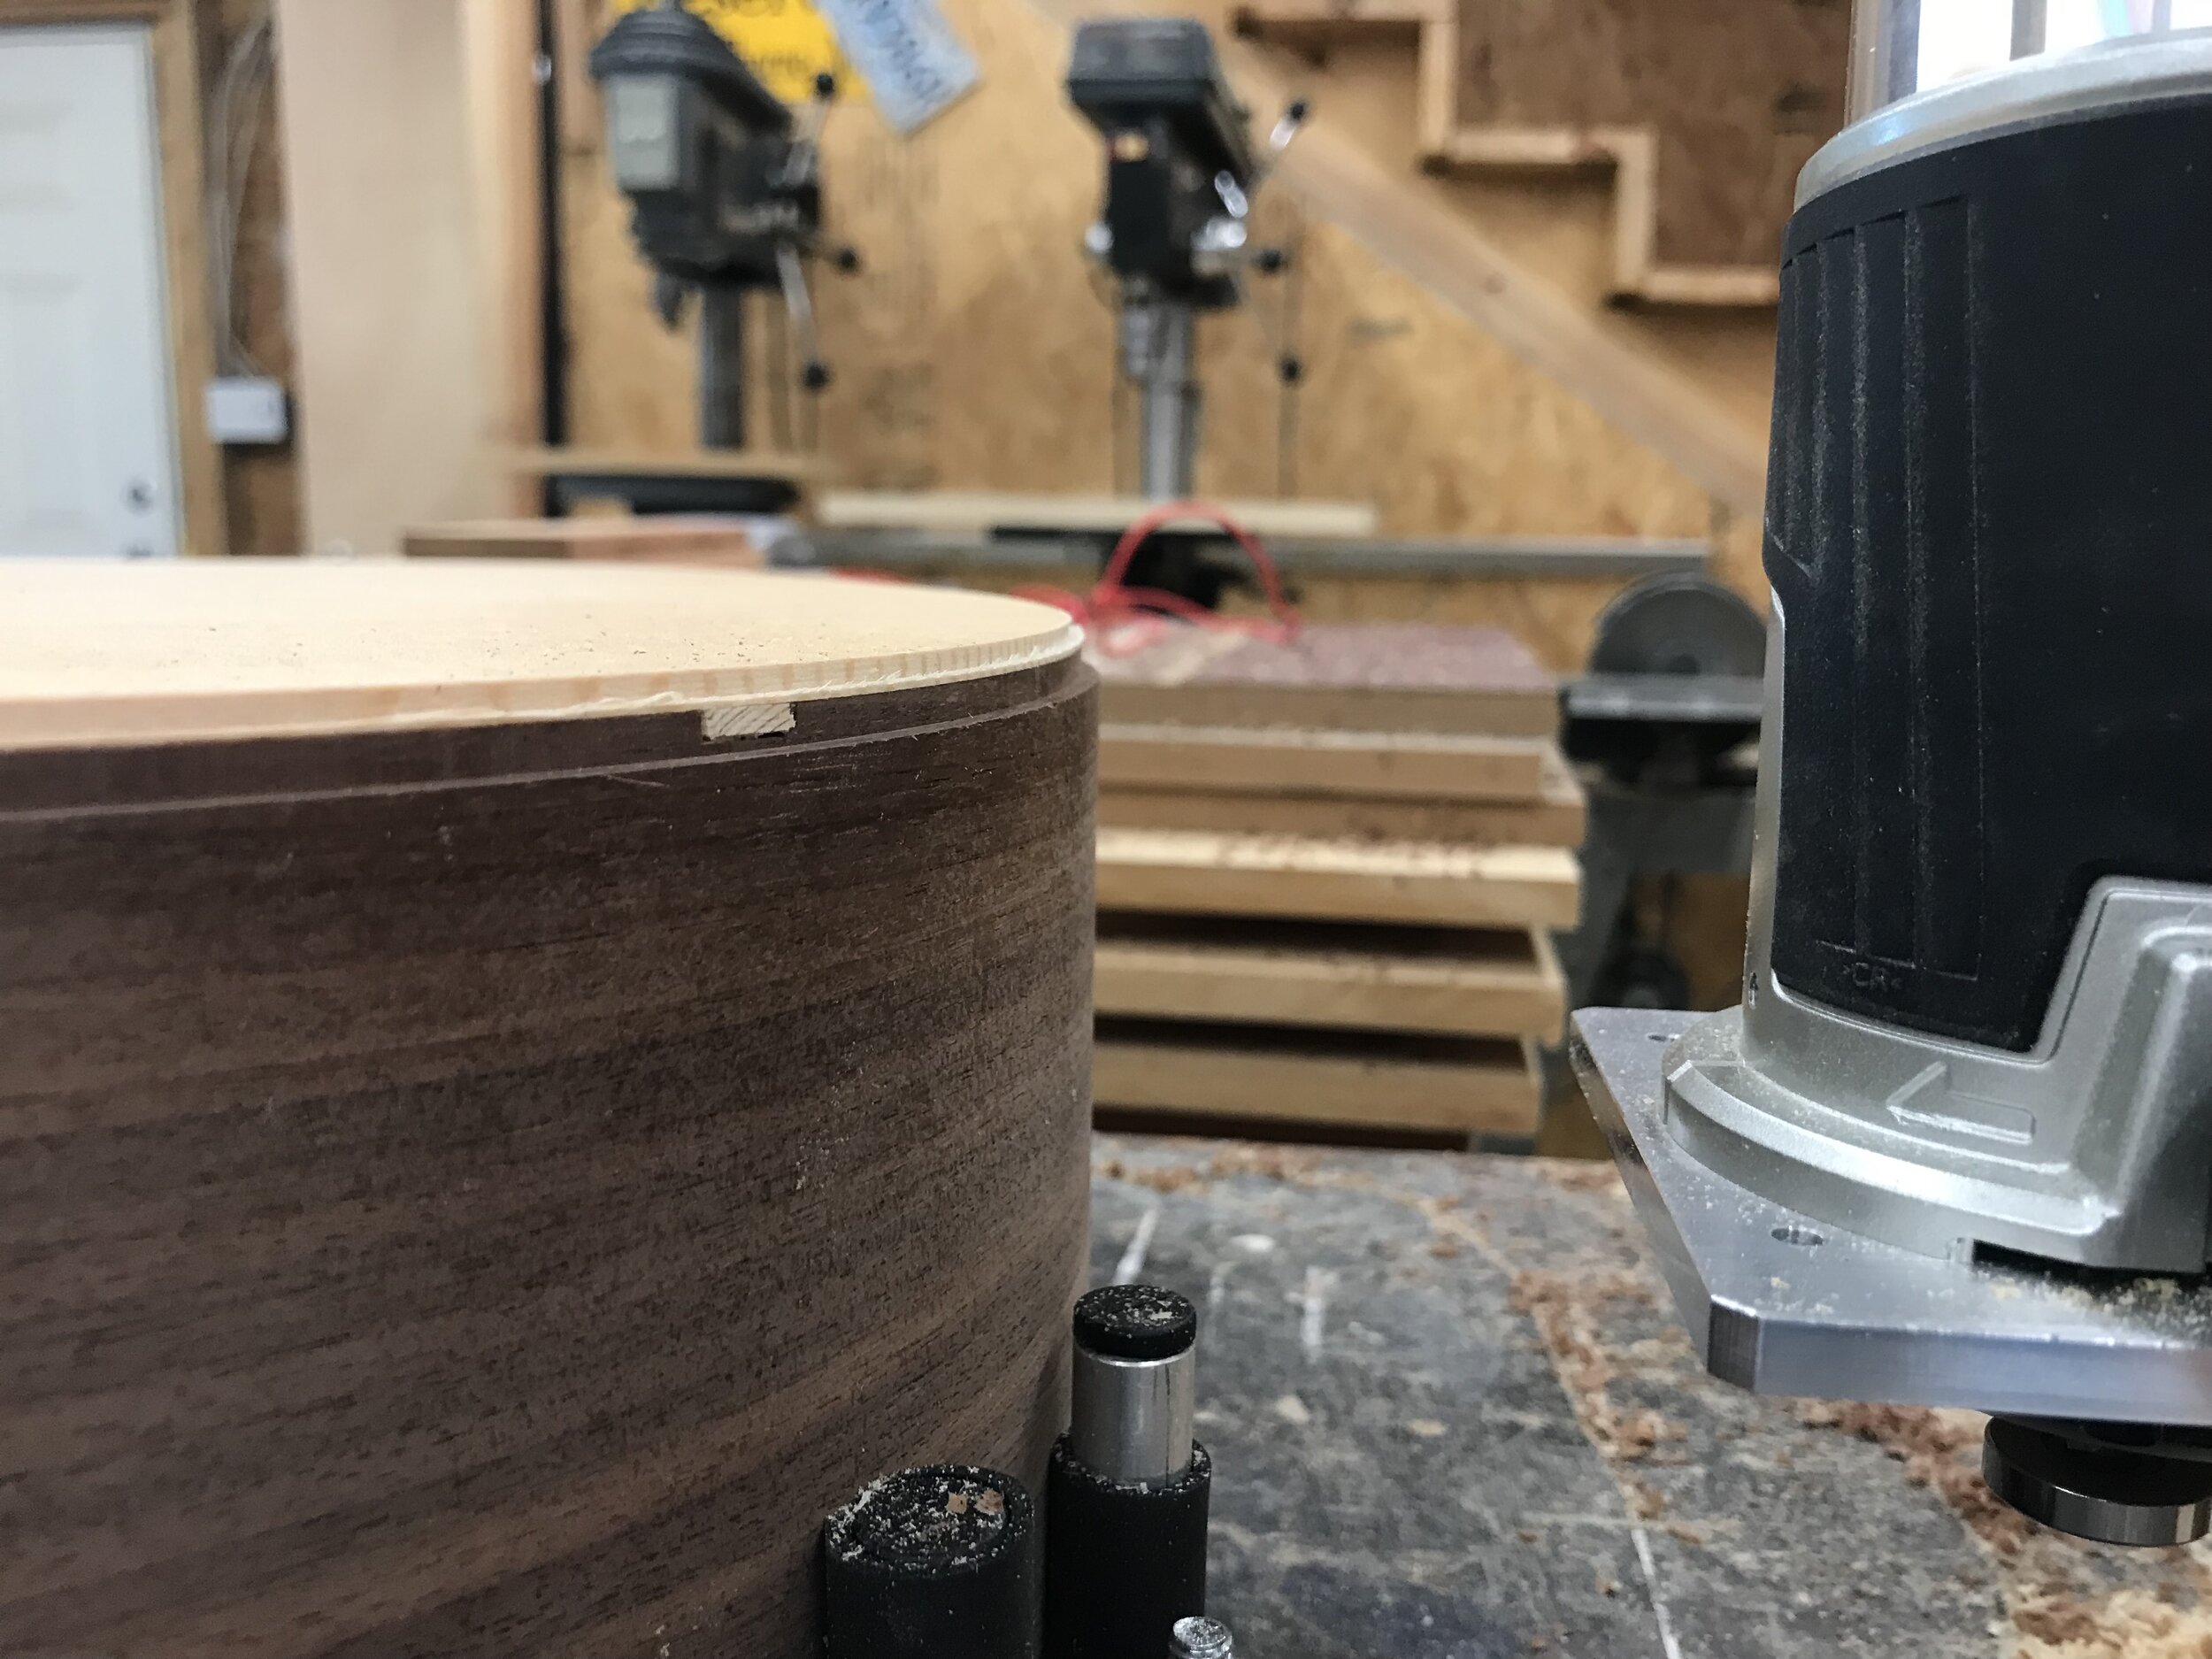
I decided to try a baritone ukulele kit from StewMac. The kit was great and since I had a lot of the tools, the build went quickly and I was able to finish it over a weekend.
Working on 004 and 005
Starting to work more on the two new guitars now that the walnut guitars are complete. I used “reverse kerning” which requires moistening and prebending to avoid breakage. Then I cut end wedges from flame maple and fit those in place. I also used side struts on these guitars (cut from the excess from the back pieces). I installed the back reinforcement strips using the Go-bar.
Finished
After a little over 18 months, the two walnuts guitars are complete. The last few weeks have been sporadic episodes of French polishing and preps for the final setup. Here they are…
Anna Beth’s
Anna Beth’s
Anna Beth’s
Anna Beth’s
Anna Beth’s
Joshua’s
Joshua’s
Joshua’s
Joshua’s
Joshua’s
Joining the sides of new guitars and prep work for French Polish
I had hoped to start the process of French polishing the walnut guitars, but my materials haven’t arrived. I did some final shaping of the neck on Joshua’s guitar as it was still too bulky. Then, I sanded the necks and bodies of both guitars, progressing from 150 to 220 to 320 grit sandpaper (with a sanding block). The tortoise bindings on Joshua’s guitar look great and were easy to put on, but they do not respond well to sandpaper. Scraper made them look great, but after finish sanding the body, I had to use steel wool to remove all the sanding marks on them.
I had to mark the bridge location and mask that area prior to starting the finish to keep that part on the soundboard raw to allow for gluing of the bridge later. This was somewhat involved, but needed to be very accurate to ensure the scale length is correct. I used the same tool that was used to mark the saddle slot to position the bridge, then used my marking knife to cut the tape outline (just a little undersized to make sure the finish would extend under the edge of the bridge.
Since I wasn’t finishing the walnut guitars, I had some time to glue the end and heel blocks on the new guitars.
Joshua’s guitar with the bridge location masked
Luke’s guitar with clamps in place for the end and heel blocks
Linley’s with the end and heel blocks clamped for gluing
Linley’s with the clamps removed and end & heel blocks in place
Bridges and sides
So much accomplished over the past several days. I have been dreading working on bridges for the walnut guitars. It seems like a step that is so critical to the final setup and playability of the guitar. I watched videos, considered a lot of options. Should I wait until after the finish is on to place and slot the bridge? Should I shape and slot the bridge before finishing and then place the completed bridge after finish is applied? I honestly don’t know the right answer, but I decided to shape and slot the bridge before finishing and without the bridge in final position. The thought is I can adjust the position after it has been slotted as long as it isn’t glued in place and I don’t want to glue it in place until the finish is applied to the rest of the guitar. It was a process making the bridges. I started with ebony blanks and then made a temple based on the shape from the plans. Then I used the template (double stick tape applied) as a guide for the a sanding bit in the drill press. This worked pretty quickly after I removed excess first with the bandsaw. Then I drilled the pin holes. Next I had to radius the bottom of the bridge (30’) to match the guitar top and the top of the bridge to match the fingerboard radius. Then I had to make sure the thickness was ok to allow for setup with the neck/frets/nut later. Finally, I had to slot the bridge for the saddle. This was involved. It was much easier with two things from Stew-Mac: the saddle position marker and the slotting jig. After many measurements, I used the Dremel and the 3/32” to cut the slot at the correct angle for compensation (I hope). That is the crazy thing, you don’t know if it will be right until everything is done.
I also was able to work on the new guitars. I bent the sides for Luke and Linley’s. and joined the back for Linley’s. The LMII side bending machine worked like a dream. I had a good bit of trouble cutting the sides of the walnut guitars to size after bending, so on the new guitars I chose to trim the sides down a good bit prior to bending. This took a bit longer on the front end, but hopefully will pay off and allow me to simply start radiating after the heel and end plates are installed.
Frets and starting new guitars
I finished placing the fingerboard inlay and side markers on Anna’s guitar, then begin the process of fretting. This went well and I started thinking of the next step, creating the bridges. I think this will require some new jigs and since those had to be ordered, I started working on the next round of guitars. I purchased Monkey Pod back and sides on sale from “Stew-Mac” several months ago and had two Spruce tops sets from 15 years ago. I sanded the monkey pod to thickness and joined the plates for the back. Then I prepped the spruce tops and joined them. I used the LMI plate joining jig for this and it worked well. I had a little more time top prep the three ebony blanks I have had for almost 20 years to finally make some bridges.
Fingerboard Inlay
I did a little more neck shaping and sanding, then attached the necks to the guitar bodies. After checking to insure the correct neck angle at the bridge position, I flattened the fingerboards and then measured and marked the centers of the frets that would have inlays. I used 6mm abalone dots from Stew-Mac, but didn’t have enough for both guitars, so I had to order a few more. They were placed by using a 6mm drill bit and then adding a few drops of thin CA glue. Once this was dry I re-flattened the fingerboard. I also placed side dots using the same technique.
More neck and fingerboard work
The quarantine and the Easter break allowed for more time to work on the guitars. I spent a lot of time working on the necks and fingerboards. I installed the inserts in the neck and drilled corresponding holes in the heel block (in the body) to attach the neck. Then I had lots of tweaking and measuring and adjusting to make sure everything was aligned correctly. Then I built a jig to cut the fingerboard taper. Once that was done it was time for a final fitting and then gluing the fingerboard onto the neck. I did not glue this directly onto the body as I figured I would need to be able to remove it down the road.
Mortise and Tenon Neck Joint
This is another part of the construction that I have been very nervous about. Mistakes here will effect the final sound and setup of the guitar, not to mention waste all the time spent so far. I watched videos several times, made test cuts, and finally did it. It wasn’t as easy as I had hoped, but turned out ok. The body was routed first, then the neck was routed to the same length tenon as the mortise. There was some additional sanding and chisel work needed for final fit.
Anna Beth’s guitar body with mortise cut
The twin walnuts
Anna Beth’s mortise and tenon joint after final fitting
Joshua’s mortise and tenon joint after final fitting
Headstock and Neck
Since I glued the headstock, the next step would be to route the truss rod slot, but I didn’t have the truss rods. I decided to make the most of the time I had and decided to glue the red veneer and the ebony headstock overlay in place while I waited for the truss rods and router bit to arrive. I initially planned to use a capital “T” for the headstock and somehow got the idea to do a colorful veneer underneath instead of the typical inlay technique. I designed a script “T”, but even my non-guitar family thought it looked like the “T” in Taylor’s guitar headstocks. So… I thought, ok I will use a lower case “t”. Humility.
Once I had a good idea of what I wanted it to look like on paper, I glued this to a piece of thin plywood. Then I used a scroll saw to cut out the actual design. This was then used as the template to mark the pieces of ebony. Then I sawed them using the same scroll saw.
Next I glued the red veneer and the ebony to the headstock. Once they were dried, I had to trim the excess from the junction with the neck, where the nut will rest.
Once the truss rods arrived I was able to start routing for the truss rod. At that point I realized I working a little too far ahead, because the extra thickness of the headstock veneers caused the neck to not rest flat on the router table. After some maneuvers, I was able to route the truss rod slots, but I learned my lesson.
Back to work
After a long stretch away from guitar building I was able to get a lot done today. I have been sneaking in a few minutes here and there scraping and sanding Anna Beth’s guitar. The maple bindings were much easier to install, but were much harder to deal with after glued. Using wood glue instead of the cement used for the celluloid bindings proved to be hard to clean up. Ultimately, I had success with a cabinet scraper and a foam sanding block. I progressed from 120 grit, to 180, 220, 320, then finally steel wool on both guitar bodies.
I also glued the necks. The plans I am using from LMI are for a 25.4 scale length. I have 3 fingerboards that already have the frets cut a 25.5 scale. That means I have a little different measurements for the location of the 14th fret, which is where the neck will attach to the body. Thankfully, stewmac.com has a handy scale length calculator and using those measurements and the expected nut width and tenon length I was able to glue the neck. This involved a scarf joint at the headstock end and heel block on the body end. The heel block was made from the excess neck blank portion being cut into 3 pieces that were then stacked and glued in order. I used to glue boards that we made 20+ years ago when making the first guitar.
Binding Anna Beth’s Guitar
Joshua wanted the darker, celluloid binding. Anna wanted a lighter color. I had tried some old black binding, but it was too brittle and snapped. Since, I had to buy more I decided to use flame maple. It was easy to bend after soaking for a few minutes. I used the bending machine and then let the pieces dry overnight in the mold.
Starting the Neck
I used some mahogany neck blanks that were just barely wide enough. I decided to add a walnut laminate strip in the middle to add a little width and a little flair. Next was the process of deciding where to cut the 15 degree scarf joint. Thankfully, I had a jig my dad made years ago to use on the bandsaw. Once the headstock portion was cut-off, then I had to thickness it to 12mm. I did this using the bandsaw, bench plane, and sanding board.
Binding and more
More progress on the bodies. Starting the process of binding the bodies. I used the LMI binging routing jig for the first time and it worked great. Lots of test cuts on scrap wood, but finally got a perfect fit. First cut was for the purfling and the second cut accounted for the binding. Joshua’s guitar will have celluloid tortoise binding.
LMI Binding jig and carrier
Purfling and Binding channels cut
Joshua’s guitar with the binding and purfling in place
Next I decided to start work on the neck blanks. I have mahogany blanks that are 36 inches long. I decided to laminate this with a walnut strip in the middle. This will extend into the headstock, but not into the heel block.
Lots of Body Work
Over the past week I have been able to spend some time cutting braces and over the past 2 days I have made some progress closing the body. The video series from O’brien Guitars has been so helpful and really helped to understand the process of voicing the soundboard.
Go-bar clamping the final stages of braces
Profile of the braces after lots of touching up and tapping
The twin soundboards for the twins
The body kerning had to be trimmed so that the X-braces and transverse brace would fit.
After the soundboards were glued in place (using the Go-Bar Deck), I used a flush bit on the router to trim the excess off the soundboard.
Today I got braces...
After too long of a break, I made it back to the shop and tries to get an idea of where I was in the process. I watched a few videos and decided to start tackling the braces for the soundboard. I had some quarter-sewn spruce from the previous guitar and some that my father had cut and using the plans I cut the rough dimensions for the braces i would need for both walnut guitars.
I also used the 30’ radiused sanding board to sand the tops side of the body in preparation for closing “the box” once I get the braces for the soundboard completed.
Not a lot to see of the process today, but here is a pick of the roughed-out spruces braces and walnut bridge reinforcement for both guitars.
Top Time
One of the anxiety producing stages is cutting the sound hole rosette. I started by making a larger platform for the drill press and making sure it was level in all directions. Then I made many test cuts with sample wood to make sure the bit was cutting evenly. We used the same rosette layout for the original guitar and thankfully we made a template that I could use to go by. After cutting the three different rings, I installed the wood strips and pre-cut shell strips then began the process of sanding and scraping and planing and scraping and sanding. Not in final stage at the end of the day, but as far as I wanted to go in a day.
This is the template from the original jumbo guitar. I use this to set the correct cutting bit and the right distance.
More Body Work
Started the day by fitting the back to the sides for guitar #1. This just involved removing the kerfing where the braces crossed and removing some of the reinforcement strip where the heel and end blocks are. Then it was just clamping. I repeated those steps for guitar #2 and at the end of the day I have the backs in place on both guitars.
Back Day
I started the day by routing the endplate area and placing the graft to the second walnut guitar. Once that was complete I was able to radius the “top” edge of the sides with the 30’ radius dish. Hopefully, I will be able to glue the kerfing strips to this side soon.
Next, I headed to work on the backs. I glued the reinforcement strips using the “Go-Bar” clamp system. It worked great, but need to use a straight-edge next time as the strip is prone to slide. Once those were stable, I started work on making the back braces. These were cut from some quarter-sewn spruce blocks. These were shaped based on the plans and each were 10mm x 16mm. I then shaped the ends of the braces with a taper. It took much longer than expected to shaped these by chisels and sanding. Once these were at the right size, I needed to cut the reinforcement strips to allow the braces to pass. Before the braces could be glued on the back, I radiused the braces using the 15’ radius dish. Then I used the “Go-Bar” clamp for this.
Endplate dressing
To dress up the endplate area I used a piece of walnut running perpendicular to the sides and bordered this with some thin purfling strips. This was done using a router and a template jig. The setup is not very fancy but worked well. I may try to widen this cut in the future and also see the benefit of using a tapered plate to make fitting it into the slot easier.
I needed to complete this step while the “top” is still flat. I have cut the “back” side with a taper and then sanded the “back” with a 15’ radius. I plan to radius the “top” to 30’, if I don’t route the endplate before I radius the “top” I won’t have a flat surface and the endplate route will be difficult to keep vertical.
In the background, you can see the routing template


